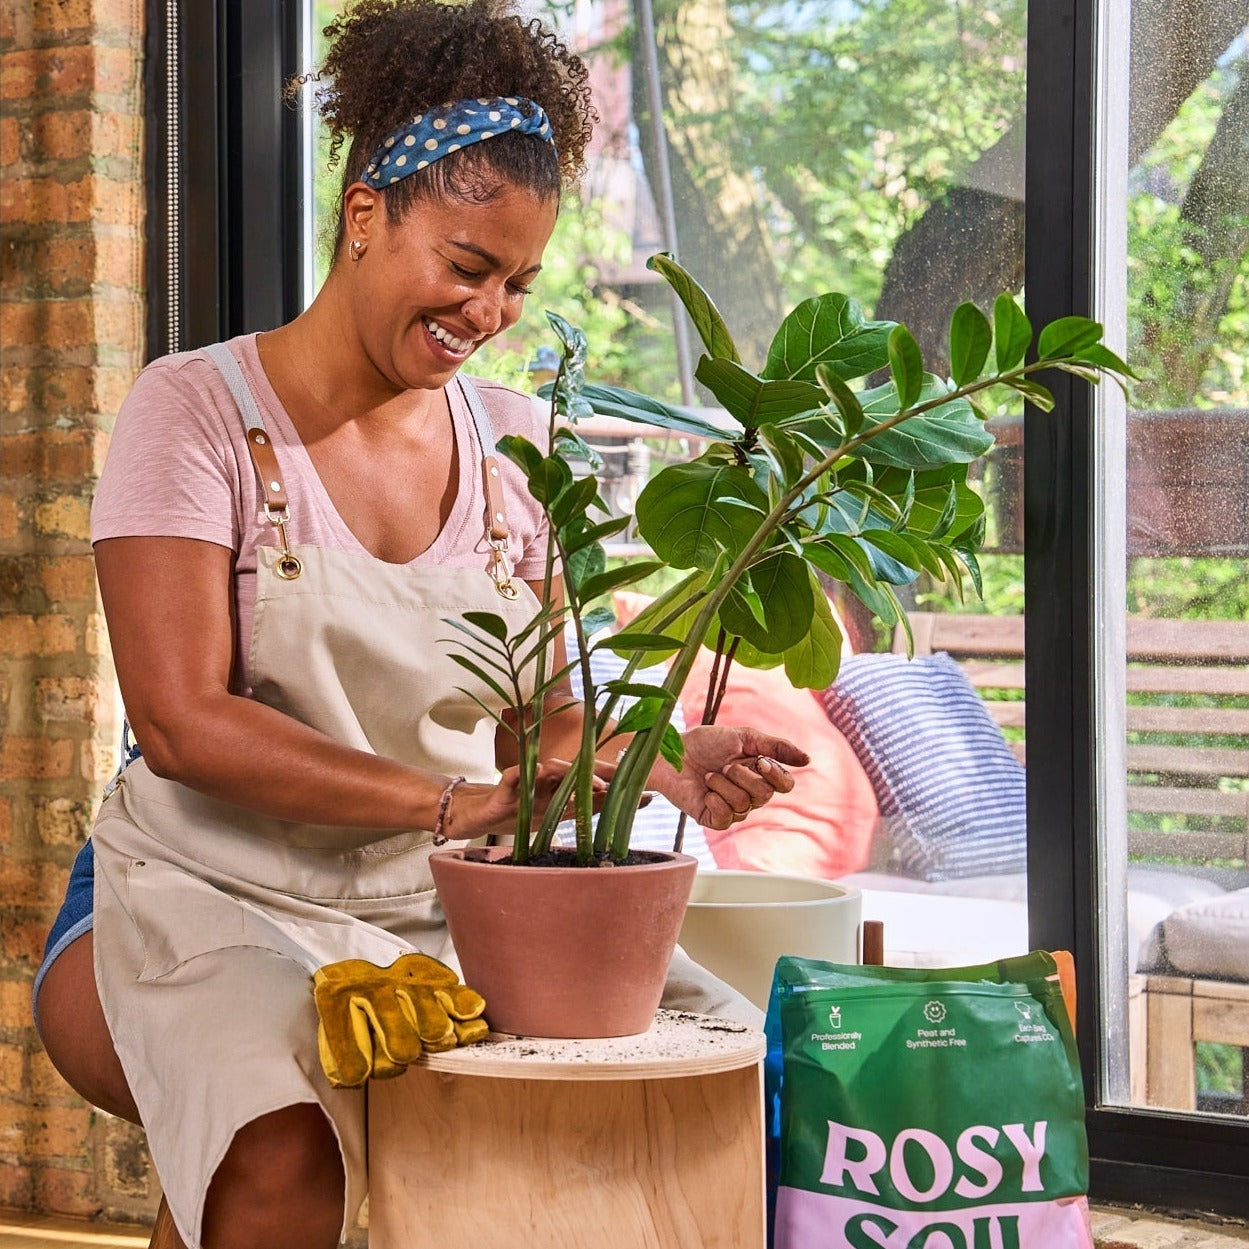
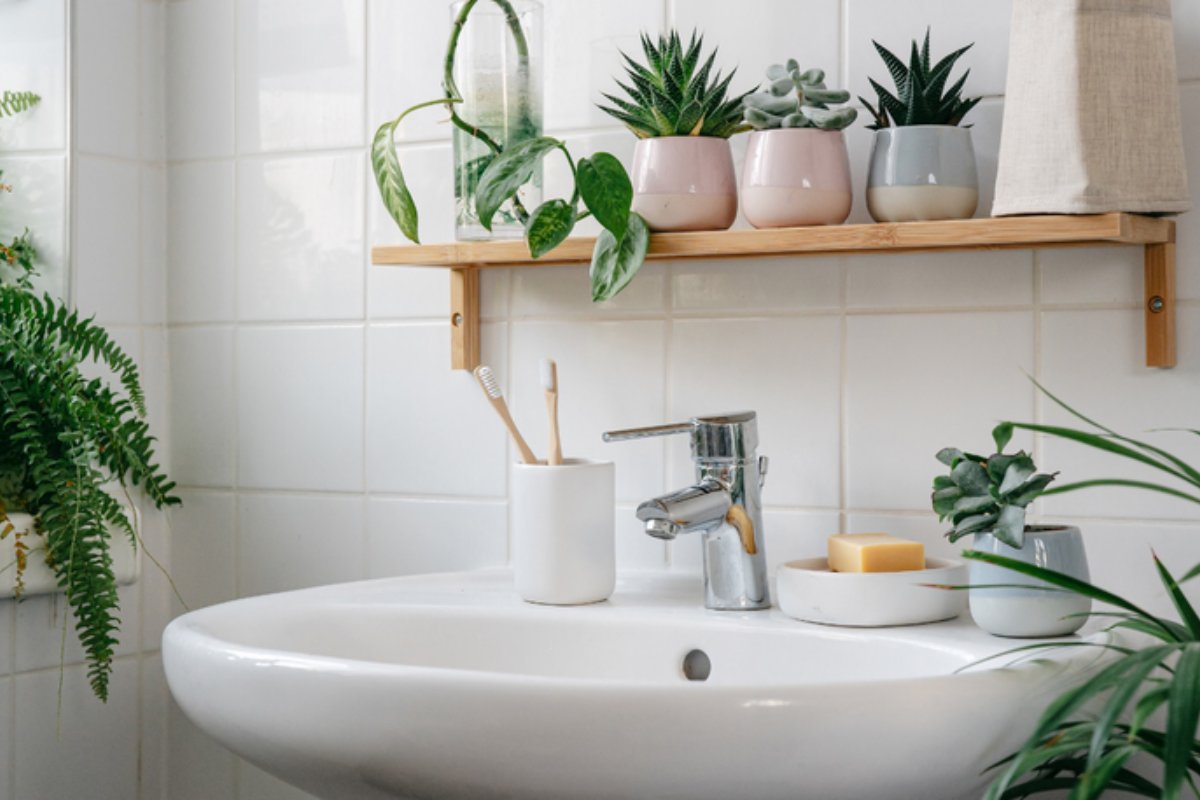
You have probably heard it before: "I killed my plant when I repotted it." If that has stopped you from ever trying, you are not alone. Repotting gets a bad reputation. But the problem almost never comes from repotting itself. It comes from a handful of easily avoidable mistakes. Get those right, and repotting becomes one of the most rewarding things you can do for your plants.
Here is everything you need to know, from spotting the signs that it is time, to the aftercare routine that actually matters.
Signs Your Plant Needs a New Home
Plants do not come with a repotting schedule, so you have to learn to read what they are telling you. The most obvious sign is roots escaping from the drainage holes. When roots have nowhere left to grow, they find the only exit available. You might also notice roots circling the surface of the soil, or the plant feeling unstable even when it has been recently watered.
A few other signals to watch for:
- The plant dries out much faster than it used to, sometimes within a day of watering
- The soil has pulled away from the sides of the pot, creating visible gaps
- Growth has stalled, even during spring and summer when the plant should be pushing out new leaves
- You can see more roots than soil when you look down into the pot
Timing matters too. Spring is the ideal season for repotting. Plants are coming out of dormancy and actively pushing new growth, so they recover quickly. Avoid repotting in winter when most houseplants are resting, and be cautious about repotting in intense summer heat unless it is truly necessary.
When NOT to Repot
Before grabbing a bigger pot, it is worth knowing when to wait. Three situations where you should hold off:
When you just brought the plant home. A newly purchased plant has already been through shipping stress. Give it two to four weeks to settle into your home before adding the stress of repotting. Here is what actually happens to plants in transit, and why that adjustment window matters.
When the plant is already stressed. If your plant is dropping leaves, wilting, or showing yellowing, repotting will not fix the problem. It will add to it. Diagnose the cause first. If leaves are turning yellow, start by working through the real causes before moving the plant.
When it is winter. Plants in dormancy lack the energy to recover from root disturbance. Wait until you see active new growth before repotting.
What to Have Ready Before You Start
Getting everything in place before you begin makes the process cleaner and faster, which is better for the plant and for you. Here is what you need:
- A new pot that is one to two inches larger in diameter than the current one. No bigger. This is the most important sizing rule in all of repotting. A pot more than two inches larger will hold excess wet soil that roots cannot absorb, and that is the leading cause of root rot after repotting.
- Fresh, well-draining potting mix suited to your plant type
- A small trowel or old spoon for moving soil
- A watering can
- Newspaper or a tray to catch the mess
On soil: do not reuse the old mix. Potting soil breaks down over time, losing its structure and drainage. Fresh soil gives roots the best possible start in their new home.
How to Repot a Plant: Step by Step
Once you have everything ready, the process takes about ten minutes. Work confidently. Hesitation causes more root disturbance, not less.
- Water the plant 24 hours before repotting. Moist soil holds the root ball together and makes removal easier. Completely dry or completely waterlogged soil both make the process harder.
- Tip the plant sideways and gently slide it out. Support the base of the plant with one hand while tilting the pot. Squeeze a plastic pot gently to loosen the roots. If it is stuck, run a butter knife around the inside edge of the pot.
- Inspect the roots. Shake off the old soil lightly. Healthy roots are white or light tan and firm. Brown, mushy roots are rotten. Trim those back to healthy tissue with clean scissors. If more than a third are rotten, diagnose the root cause first. Overwatering is responsible for most root rot, so review your watering habits before repotting again.
- Add a layer of fresh soil to the bottom of the new pot. Position the plant at the same depth it was before. Test by placing the plant in and checking that the top of the root ball sits about one inch below the rim.
- Fill in around the sides with fresh soil. Press gently but do not pack it tightly. You want the soil to make contact with the roots without compressing out the air pockets that roots need.
- Water thoroughly until it drains from the bottom. This settles the soil and removes air pockets. If a little soil sinks, simply top it off. For getting watering right going forward, our watering fundamentals guide covers exactly what to look for.
The 2 Weeks After Repotting: What to Expect and What to Do
This is where most repotting guides stop, and where most people make avoidable mistakes. The two weeks after repotting are as important as the repotting itself.
Some wilting is normal. Even a perfectly executed repot causes a small amount of transplant shock. The plant is adjusting to new soil, a new pot, and some degree of root disturbance. A bit of drooping in the first few days is not a reason to panic. Keep the plant in bright indirect light and leave it alone. Do not move it, mist it repeatedly, or increase watering in response to the droop.
Hold off on fertilizer for four to six weeks. Fresh potting soil already contains nutrients. Adding fertilizer on top stresses the recovering root system and can cause fertilizer burn on newly forming root tips.
Water carefully. In the first two weeks, water only when the top inch or two of soil has dried out. The new soil holds moisture differently than the old mix, so check before you water rather than watering on a fixed schedule. This is especially important for moisture-sensitive plants like hoyas. Our Hoya Rope Plant care guide is a good example of how specific watering needs can be per plant type.
When to worry: If wilting lasts beyond seven to ten days and is getting worse, check the roots again. Persistent wilting despite moist soil usually signals root rot. If the roots have gone mushy, trim them back, let the root ball dry slightly, and repot again into fresh dry soil. Our original repotting guide also walks through the visual signs to watch for at each stage.
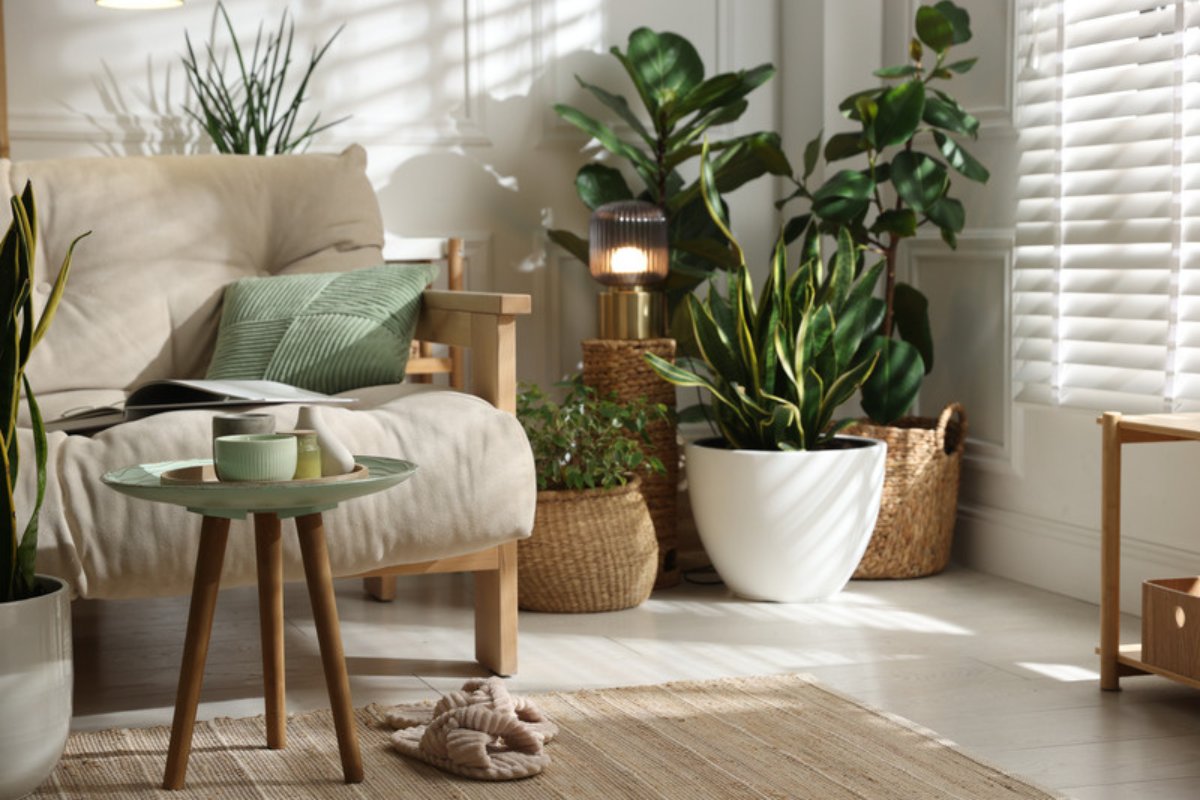
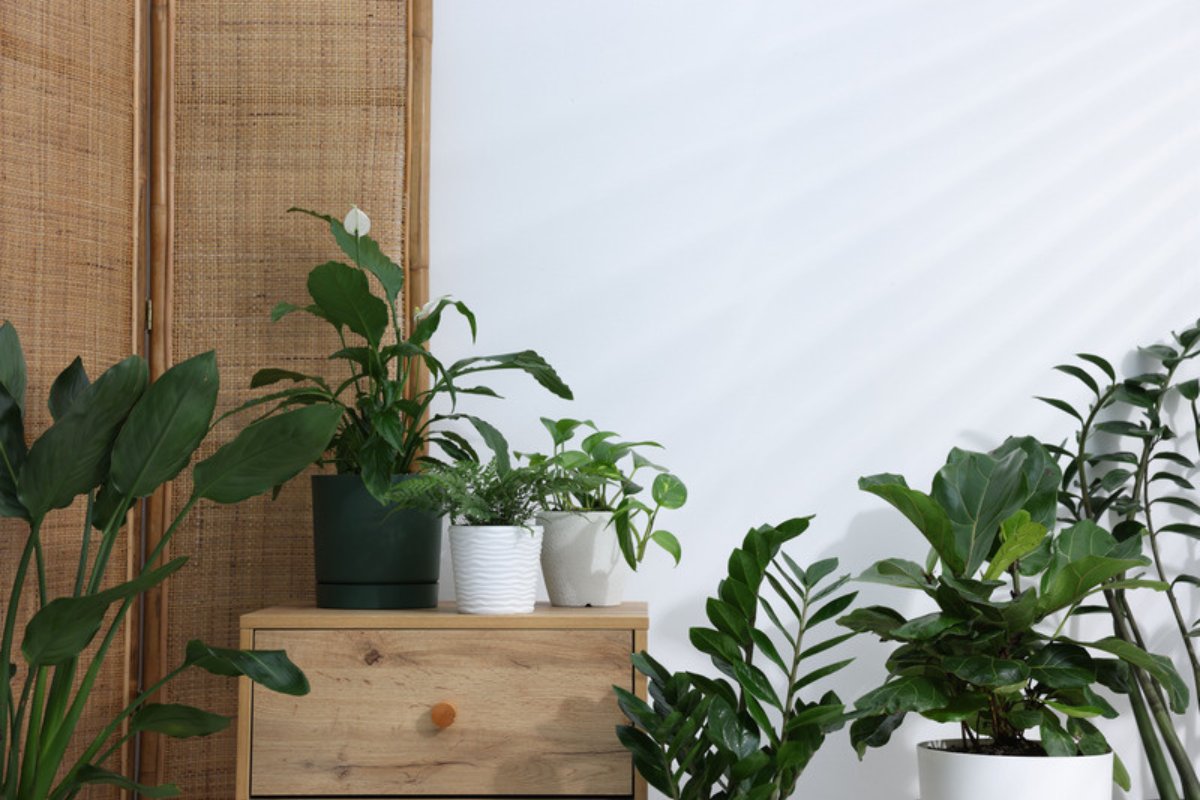
Once your plant has settled in, this is a great time to think about where it lives. A freshly repotted plant with room to grow often looks best in a new spot. Here are practical ideas for styling plants in any size space.
When you are ready to add something new to your collection, browse the full range at plantswagshop.com. Every plant ships with detailed care instructions and a 30-day guarantee, so you can start with confidence.
Frequently Asked Questions
How do I know if my plant needs to be repotted?
Look for roots growing out of drainage holes, soil that dries out unusually fast, visible roots circling the surface, or growth that has stalled even in spring and summer. Any one of these signals is worth acting on.
How big of a pot should I choose when repotting?
Go up exactly one to two inches in diameter from the current pot. A pot more than two inches larger holds excess wet soil that roots cannot absorb, which dramatically increases root rot risk. Bigger is not better.
Can repotting kill a plant?
It is rare when done correctly. Most issues come from choosing too large a pot, overwatering immediately after, repotting a plant that was already stressed, or repotting during winter dormancy. Follow the steps above and the risk drops significantly.
How long does transplant shock last after repotting?
Mild drooping or temporary wilting usually resolves within three to seven days. Most plants look noticeably better within two weeks. If the plant is still struggling after ten days, check the roots for rot and adjust your watering schedule.
Should I water my plant right before or right after repotting?
Both, but strategically. Water about 24 hours before repotting so the root ball stays intact during removal. Then water thoroughly right after to settle the soil and remove air pockets. After that, let the soil partially dry before watering again.
Do I need to repot a new plant right when I bring it home?
No, and we recommend waiting. A freshly shipped plant has already been through a stressful journey. Give it two to four weeks to acclimate to your home before repotting. The exception is if roots are already visibly escaping from every drainage hole.